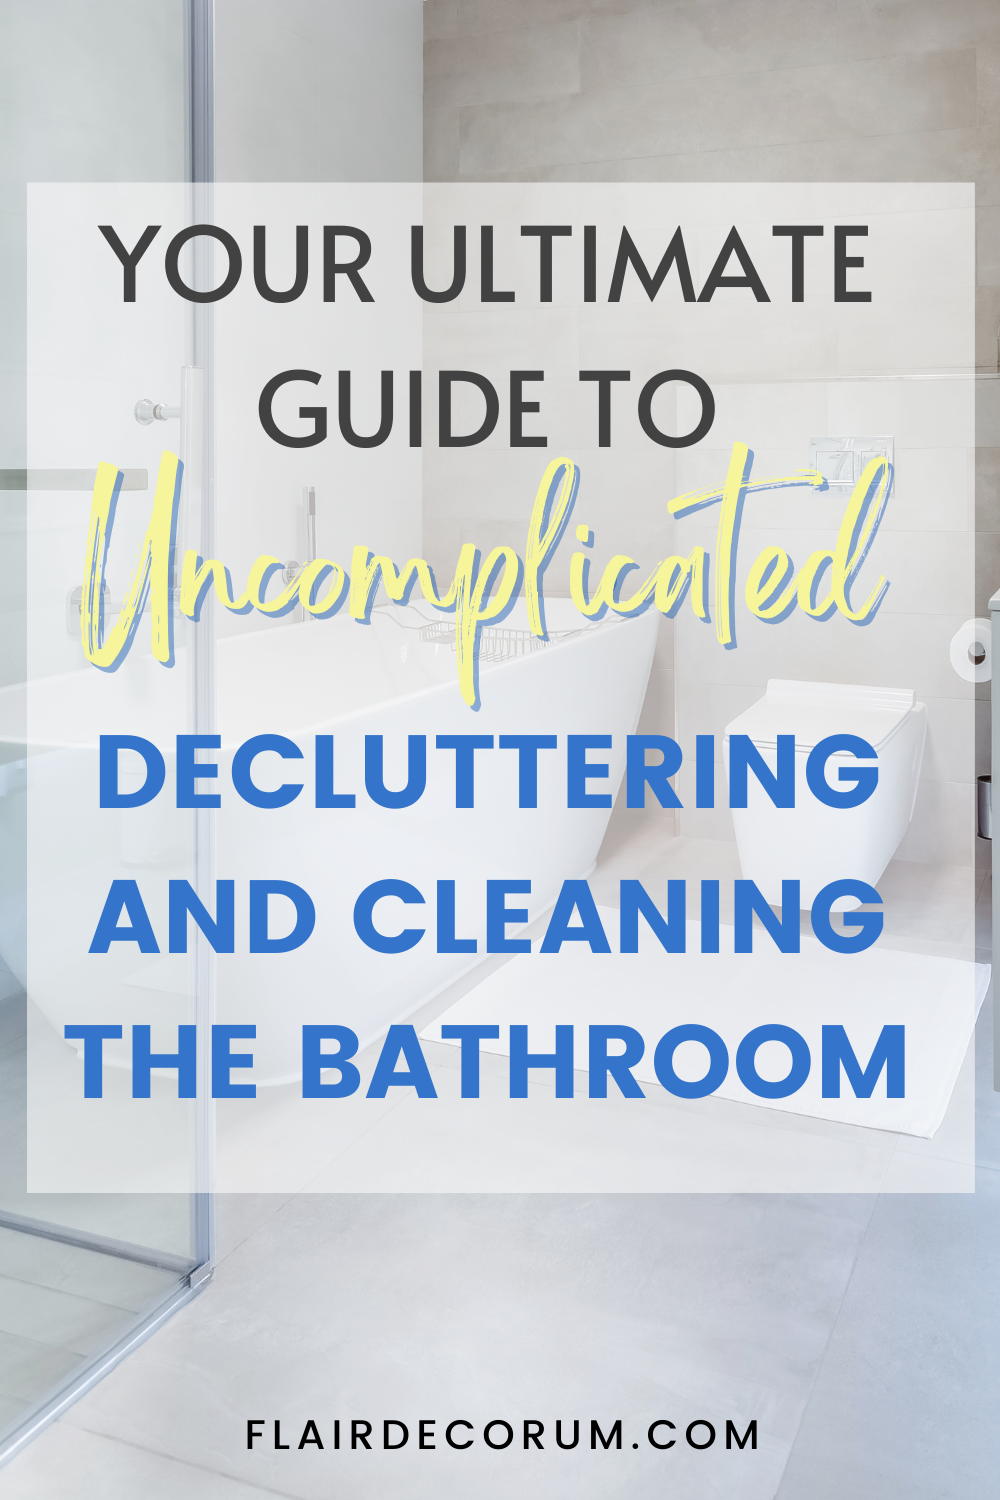
Published: October 12, 2021 I ORGANIZING
One of the many things that you need to do to make your home a wonderful and beautiful place to stay in is to clean and declutter the bathroom. This idea might seem gross and you might feel like avoiding it, but you’ve got to face it sooner or later! Although the bathroom is one of the smallest areas of the house, it can also be the messiest. Thus, you need to have a system for cleaning the bathroom, specifically for how to declutter the countertops, clean under the bathroom sink, and get rid of unusable bathroom products.
This easy decluttering and cleaning guide (download the free printable guide here) will help you handle this responsibility easier and get the job done in no time. So get your hand gloves, turn on some music, and get started!
In this post, you’ll find out:
1. When to schedule cleaning and decluttering your bathroom
2. What items to declutter and throw away
3. What tools and cleaning stuff do you need
4. How to clean and wash your bathroom areas in 12 easy steps
5. Other organizing activities after cleaning
WHEN TO CLEAN AND DECLUTTER THE BATHROOM
Since the bathroom is so prone to clutter, stains, and mold, regular scrubbing, tidying up, and sanitizing are needed to maintain a clean bathroom. Ideally, you do this at least once a week, and it will take around 1 hour to 1.5 hours depending on how big your bathroom is.
If it’s not possible to clean the whole bathroom in a day, you can squeeze in 30 minutes several times a week. For example, if Tuesday isn’t a busy day, you may clean the bathroom counter/sink for 30 minutes and the next day allocate another 30 minutes to clean the toilet. This way, you can still accomplish your goal and not feel so stressed about the time.
ITEMS TO DECLUTTER AND THROW AWAY
These are things mostly found in your medicine cabinet, bathroom counter, and bathroom drawer. They’re no longer usable but still take up space in your bathroom.
- Empty bottles and sachets of haircare, body care, alcohol, etc. like empty toothpaste tubes and empty dental care items
- Expired products especially medicine, vitamins, first aid supplies, haircare, body care, skincare, etc.
- Lotions or creams that have hardened or got stuck in the container
- Overused toothbrushes (bristles are bent or frayed)
- Long-unused or dusty cotton swabs
- Damaged or torn towels, particularly those that have large holes or frayed edges
- Overused loofahs, foot scrubbers, and exfoliators
- Wilted plants or those with discolored leaves or with no signs of life
- Mushy or disintegrated soap
- Used candles especially ones where only the wick and a puddle of melted wax are left
- Soap dispensers with malfunctioning or stuck pumps (these are really really annoying!)
- Broken or no-longer-working dryers and hair tools
- Trash left in your trash can
CLEANING TOOLS AND CLEANING SOLUTIONS
Here are some of the items we suggest you’ll need. If you want to quickly and efficiently clean your bathroom, you may consider different kinds of cleaning tools that are specialized to clean specific areas. It’s better to prepare everything before you start cleaning.
- Toilet bowl cleaner brush with round-shaped bristles to reach the edges and drain of the toilet bowl
- Scrub brush preferably with a comfortable grip for cleaning walls and bathroom tiles
- Groove gap brush or a brush with a pointed end to clean the sides of the drain sink and smaller areas like in between the windows
- Line brush or a brush with aligned bristles to clean hard-to-reach areas such as tiny gaps in between tiles, edge corners of the faucet and showerheads, as well as to remove stubborn stains
- Scouring pad brush, which is basically a flat scrub pad attached to a handle, for heavy-duty cleaning of sinks and removal of stubborn soap scum with ease
- Mop-type (broom-type) brush with stiff bristles and long adjustable handles for cleaning tile, cement, or concrete floors. You may also consider a mop brush with 45° angle ergonomic design.
- Toilet bowl pumice stone with handle to clean the inner parts of the toilet bowl
- Multi-purpose home cleaning solution. You can choose a concentrated one, which usually needs to be diluted with water.
- Glass cleaner solution for mirrors and squeegee for washing the glass surface without scratching it. Preferably with different handle sizes to clean shower glass doors and mirrors.
- Mold and mildew stain remover
- Bucket to hold the cleaning solution and for rinsing/dipping the mop
- Spray bottle to hold the cleaning solution
- Rubber hand gloves to protect your skin from chemicals
- Goggles or mask since fumes from chemicals might be harmful to your eyes or nose, or if your eyes or nose is sensitive to their smell
CLEAN AND WASH BATHROOM AREAS IN 12 EASY STEPS
The bathroom has several areas in particular that you need to clean. You may start from the bathroom counter, then under the sink and toilet, and then last will be the shower area. If you only have time to clean one area, that’s okay, you can clean the others on another day.
It’s important to read and follow the instructions for the cleaning solution or chemicals you’ll be using. Some chemicals might damage your countertops, faucets, etc. Also, don’t mix cleaning solutions or chemicals. If you’re allergic to any chemical, just hire/ask someone to clean the bathroom for you. Don’t forget to use rubber hand gloves or goggles/mask if your eyes or nose is sensitive to chemicals.
Before cleaning, you may apply the cleaning solution to the sink, toilet bowl, bathtub, and walls of the shower area for at least 15 minutes. It will penetrate the dirt, mold, and grime there so you can scrub less later. As you’ll be using cleaning solutions that have concentrated chemicals, open the doors and/or windows for air to flow inside and prevent suffocation and inhalation of fumes.
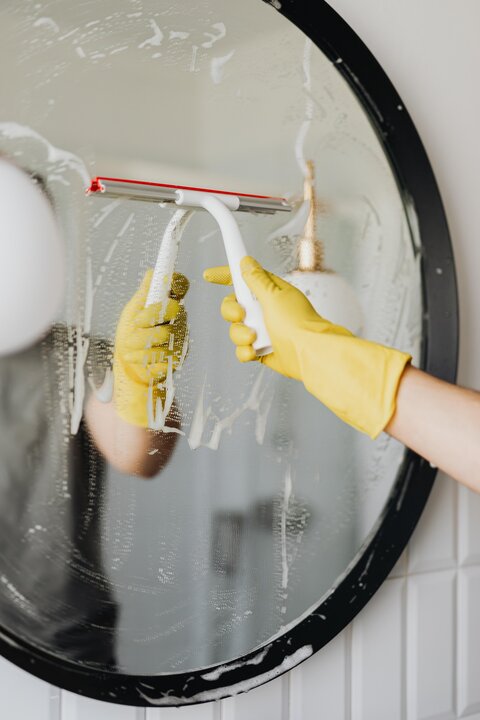
Step 1: Clean mirrors by using glass cleaner or applying bathroom cleaning solution according to the instructions. Don’t use a rough pad as it might scratch the glass. Just use a gentle washcloth or squeegee to wipe away the solution. You may need to do this a few times to get the stains off.
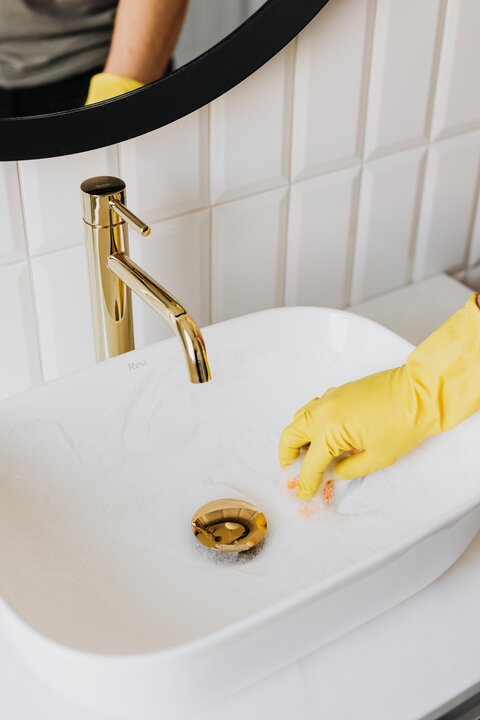
Step 2: Take out all the items from the sink countertop. To clean the sink, use a cleaning solution and a scouring pad brush. Start with the top, then the faucet and sink, and all the way under the sink. Use a groove gap brush to clean in between the drain. If the sink has a lot of soap scum, stains, or dark spots, you need to exert pressure while scrubbing the surface. After that, rinse the sink with water. Don’t forget to declutter and clean under the bathroom sink as well. Is the area under the sink made of wood? Just spray cleaning solution and wipe immediately with a wet cloth.
Step 3: Take out all the items from the shelves or medicine cabinet. If the shelves or medicine cabinet is just dusty, wipe the dust off with a damp washcloth. If the shelves or cabinet is full of stains from liquid products, wipe the stains off with mild soap and water or a mild cleaning solution.
Step 4: Clean all storage boxes and caddies.
Step 5: For the soap dispenser, soap dish, toothbrush holder, candle holder, etc., remember to clean them as well.
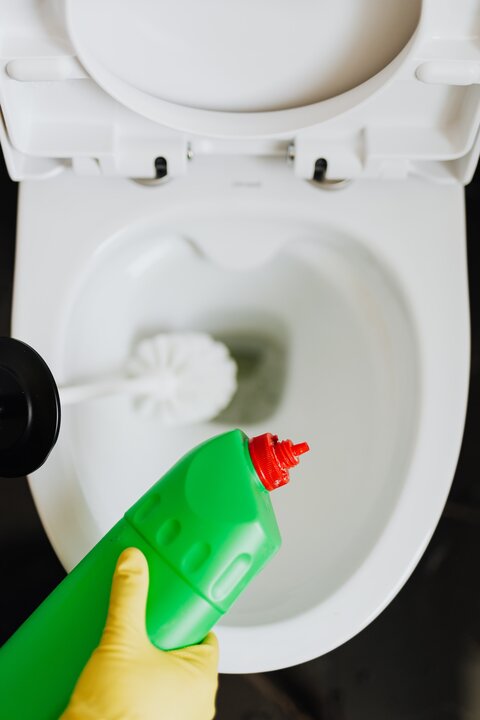
Step 6: Remove all items on top of the toilet tank. Apply the toilet bowl cleaner to the rim and edges of the inner part of the toilet bowl, following the toilet bowl cleaner instructions, especially if you’ve never done this before. Wait for 10 to 15 minutes for the solution to work. Clean the other areas while waiting. For the other parts of the toilet like the toilet seat and other surfaces, toilet bowl, handles, and hinges, use the scrub pad to clean them. Just be careful not to scrub hard on the toilet seat and cover as you might scratch the paint if they’re made of wood. Also, don’t apply bleach on painted surfaces. Rinse them with water.
Go back to the toilet bowl. Use the toilet bowl cleaner brush or toilet bowl pumice stone with handle to clean all the inner parts of the toilet bowl in a circular motion. Focus on the hard or yellowish stains. Rinse the toilet bowl with water. Declog if needed or call a plumber.

Step 7: Clean the bathroom floor with a multi-purpose cleaning solution. You can use the mop-type stiff bristles brush to scrub it. For the walls and tiles, use a scrub brush with a handle to clean them.
Step 8: Take out the shower curtains and wash them.
Step 9: Use the scrub brush to clean the walls and floor of the shower area with a multi-purpose cleaning solution. Don’t forget the faucet and shower handles/knobs. For the blackened areas in between tiles, use the line brush. Rinse with water after. Remove hair strands stuck in the drain and throw them in the trash can. Don’t throw them in the drain as they will clog up and be a disaster for you in the future.
Step 10: Wash bath towels, hand towels, and floor mats with laundry detergent.
Step 11: Clean and scrub the bathtub with a scrub brush and a multi-purpose cleaning solution. Use a scouring pad brush to remove soap scum and clean moldy, or stained areas. Rinse with water after.
Step 12: Dust off the weighing scale and other bathroom décor like picture frames/paintings.
OTHER ORGANIZING ACTIVITIES AFTER CLEANING
- Put back all the items in the sink countertop, shelves, and medicine cabinet.
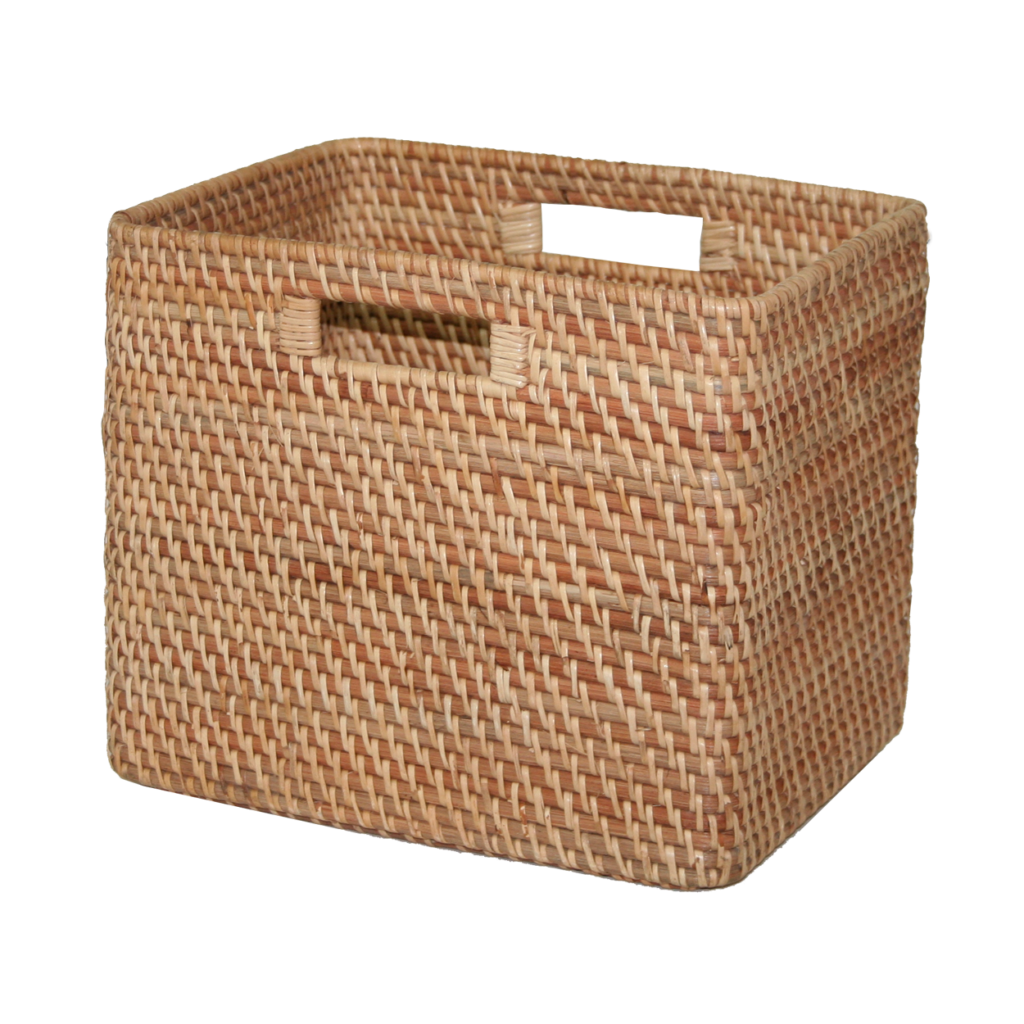
- Organize the items using nice clear plastic storage boxes with labels or wicker baskets as needed.
- Empty your trash can.
- Refill soap dispenser, toilet paper roll holder or boxes, folded paper towels, cotton swabs, etc.
- Reassess your shelving situation. If you still have a lot of clutter in your bathroom, you may need to buy a new shelf or drawer to organize your stuff. Get a bathroom organizer if needed depending on your space.
- Repair holes in towels. Some towels might have small holes so you can still sew them. Alternatively, you can cut them up and use them as hand towels.
And there you have it! Your bathroom is now super clean and tidy.
Did you find the cleaning bathroom tips useful? Share your thoughts with us!
Don’t forget the free printable checklist here.
Want to make your home clean? We have more great stuff here:
- 19 Fast and Easy Ways to Declutter Your Home That You Can Do Now
- Decluttering Made Easy: How to Get Rid of the Mess in Your Kitchen
- Real Simple and Quick Ways of Decluttering and Cleaning Your Closet
Save this post for later 🙂